Binance is one of the most innovative trading platforms in the world.
Therefore, the first thing you must to do if you’d like to get started operating on it is to discover how to buy Ouro (OGS).
Before stepping into the wonderful realm of crypto on the Binance platform, you need to know the following.
To be capable of buying Ouro (OGS) on Binance, one thing you must know indeed is how to open your account.
Subscribing on the Binance platform is easy: see the following guidelines.
On the Binance homepage you have to locate the "Register" option and press it.
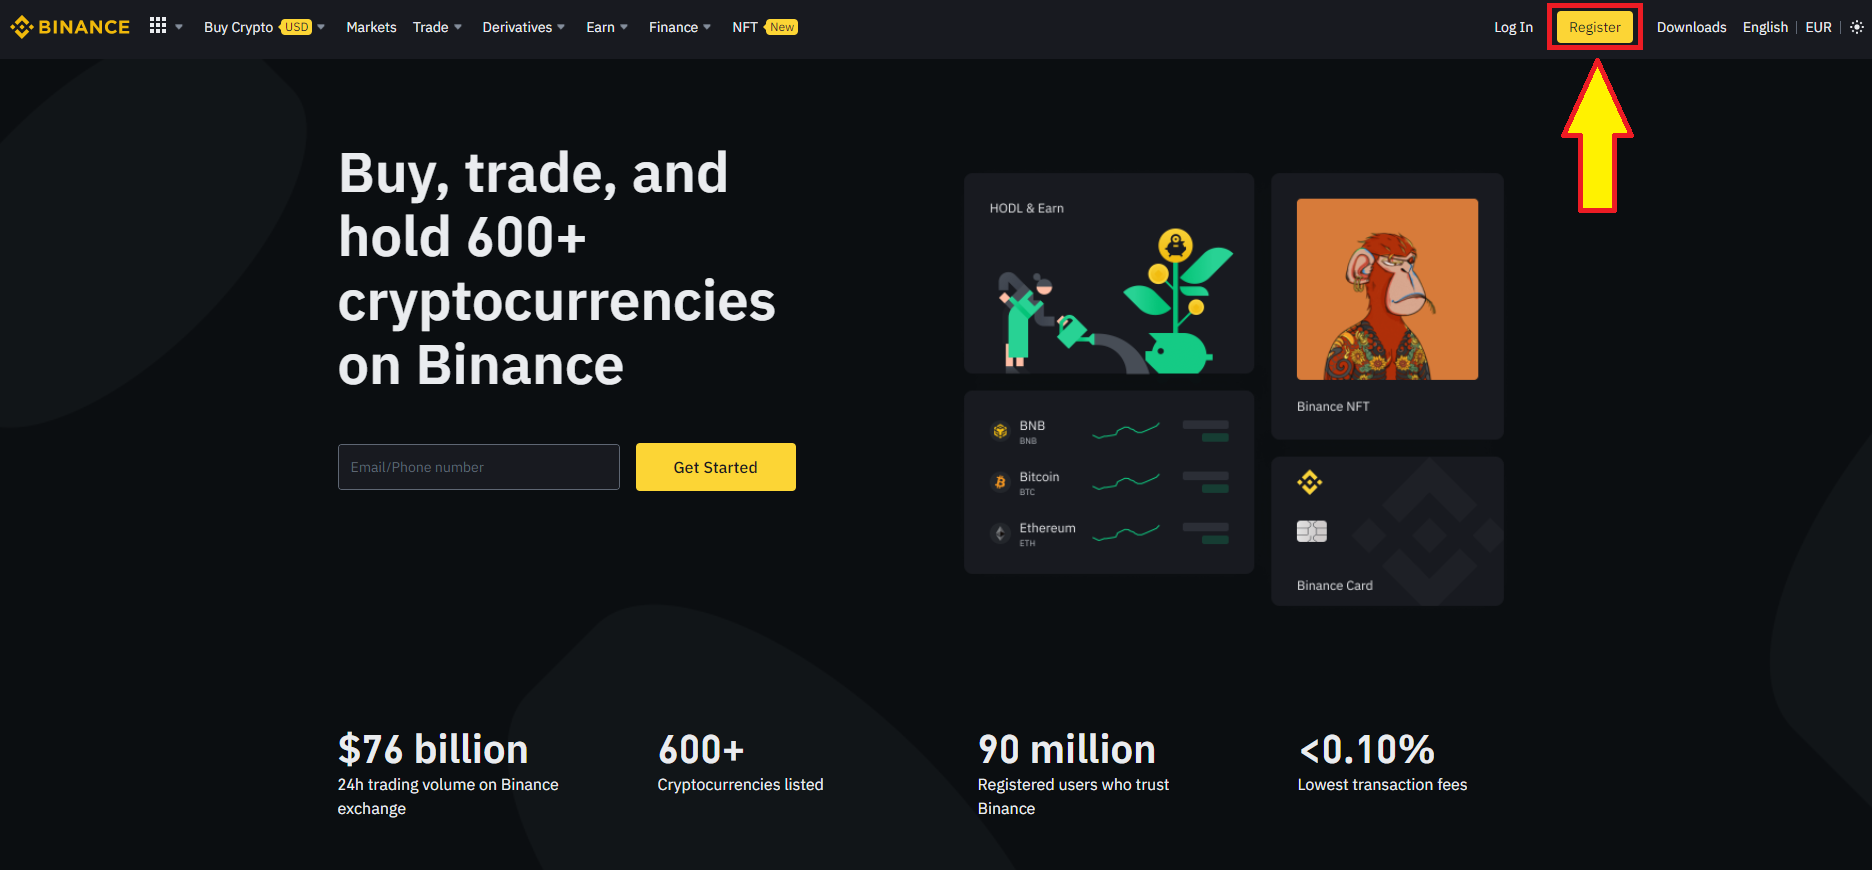
Go directly to Binance by pressing here.
Look for the "Register with a phone or email" button in the homepage and press it.

The Binance platform is totally compatible with iOS mobile devices as well.
For the purpose of this article, the e-mail address subscription process will be described.

You surely have received an e-mail sent to the address you’ve just used for subscribing on the Binance platform. It will have a one-time-only activation password you will enter in that page. Then press "Send"
Finally, your Binance subscription has been activated.
It is a good idea to browse the different options of the Binance platform and get acquainted to them.
This way you mayit will be possible to start operating with Ouro (OGS) conveniently.
To have access to those options, the first thing you must do is fulfill the identity checking.
Notice: No Ouro (OGS) operation will be permitted if you omit this protection measure.
However, you don’t need to worry, continue reading the following section to learn how to do it.
The following are the steps to verify your Binance account and get authorized to begin trading:
On the main page, hover the mouse on the user profile button and a list will immediately appear where you will click on "Security"
Or just look for the "Verify" button on the upper part of the navigator window

Locate the option "Identification" on the left part of the screen.
Here you must choose your country of residence.
The platform will show you three verification levels: the current one, the Verified, and the Verified Plus.

To begin, you must select "Verified", clicking on the "Start now" option below that label.
A pop-up window will be shown, and there you will have to give your personal information: Nationality, first name and surname, second name and birth date. Besides, make sure you type the exact address of your residence
It is time to sustain your identity with a legal document.
ID card, passport or even a driver’s license will be enough to fulfill this formality.
Now the system will require you to take a selfie following certain instructions.
When you have fulfilled the platform’s requisites, you’ll have to wait a short time for the verification to be performed on your account.
Now you have to wait until your application has been approved. Be patient, Binance is going to send you an email.
After that, it’s time to get Ouro (OGS), to do so see the instructions below.
Understanding how to invest your money in Ouro (OGS) is not so difficult.
Next, you’ll need to present a legal document to support your identity.
Use your passport, ID card or even your license to complete this step.
Now the system will require you to take a selfie under certain conditions.
Once you have completed the system’s guidelines, you will have to wait a short while for the verification to be performed on your account.
So, be patient, Binance will let you know via email when your profile has been accepted.
The following instructions will guide you through the Ouro (OGS) buying process. As soon as you’ve got the confirmation email, you’re a Binance licensed Ouro (OGS) trader.
In this section you’ll discover how simple is to convert money into Ouro (OGS).
You will probably have different alternatives throughout the process
The "Buy cryptos" menu on the Binance main page should be your reference at buying time.

Obviously, you’ll only be able to do this once you are logged in
Hovering your mouse pointer over this option will show a list of alternatives to make the purchase.
Now you’ll need to provide a legal document to sustain your identity.
ID card, passport or even a driver’s license are all valid documents to complete this requirement.
Now the platform will require you to take a selfie following certain guidelines.
The final step will be made by the Binance platform: a confirmation process that will take only a short time.
Now you have to wait until your request has been approved. Be patient, Binance is going to let you know via email.
After that, it’s time to purchase Ouro (OGS), just follow the guidelines below.
Understanding how to convert cash into Ouro (OGS) is actually quite easy.
Take into account that you may find more than one option for this process
The "Buy cryptos" menu on the Binance main page will be your reference at buying time.
You must, of course, try this once you are signed into your account
Find all the different buying options just by hovering your mouse over this button.
Go to the "Buy Cryptos" and pick the credit card-related option from the menu.
These instructions will be helpful to continue the process:
Now you should pick the currency you’d like to use and enter the amount you want to invest.

The the Ouro (OGS) you’d like to get should be chosen from the second field
The number of Ouro (OGS) you are going to get will depend upon the amount of USD you have recently defined. The Binance platform will immediately display it.
Next, just follow the following guidelines:
Now you should select the currency you wish to use and specify how much you are going to invest.
Next, choose the Ouro (OGS) you are going to get
Depending on the amount of USD you’ve just invested, the system will automatically display the quantity of Ouro (OGS) you are going to receive.
Next click "Continue".
If you decided to pay with your credit card, select in the "Visa/Mastercard" box the button "Add card".

Enter your credit card data and click "Next".
Now state the physical address details for the credit card. After this, select "Add card".
Click "Continue" once you notice your card has been successfully included in your user profile as a new method of payment.
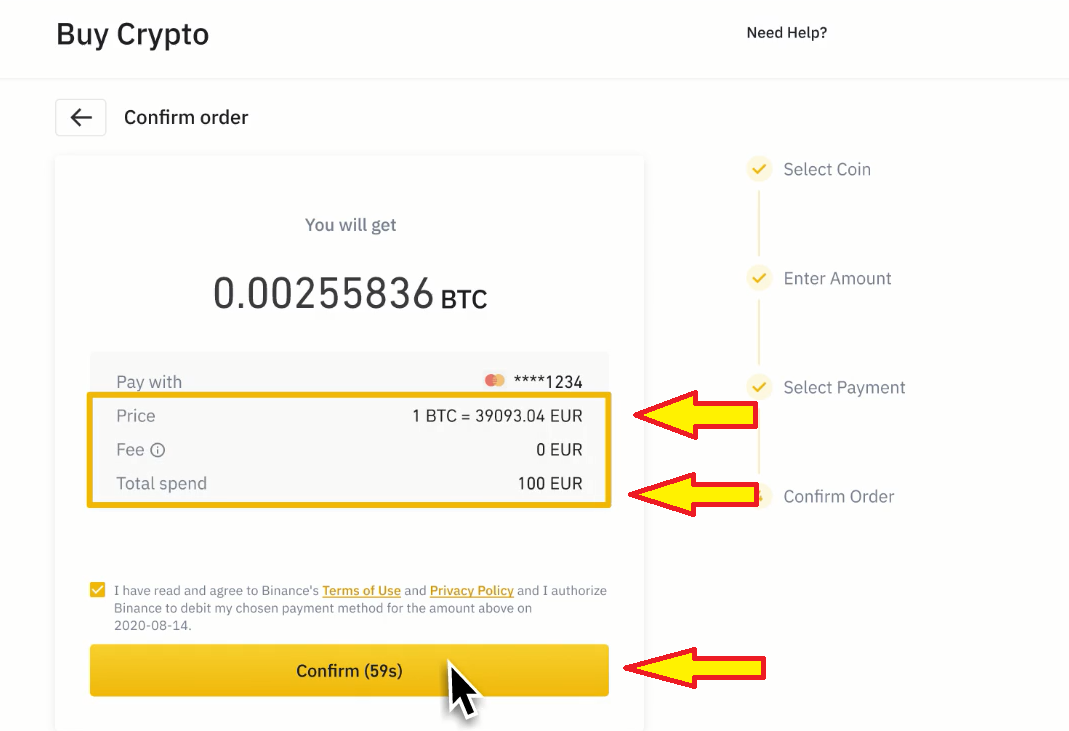
The platform will now show you the summary of the buying order you are generating. The amount your card will be charged with the currency you have picked, and the Ouro (OGS) you will get.
Indeed, Binance will claim a small amount as a commission for making the purchase, and it will be shown in that summary also.
In less than 1 minute press "Confirm", from then on the order will be automatically canceled.
The following step needs to be carried out on the credit card banking platform. Follow the steps in the same way you would pay with your card.
Your recently purchased Ouro (OGS) will be deposited to your Binance digital wallet (referred to as the «Spot Wallet») after the banking process has been done
Next, all the important details of the operation will be presented: the sum to be charged on your credit card and the corresponding currency, and obviously, the cryptos you will get.
Obviously, Binance will charge you a small amount as a commission for making the operation, and that will appear in that quick view also.
You have 60 seconds to press "Confirm", otherwise the order will be automatically shut down.
After this, you will be redirected to the bank platform the credit card has been issued by. There you will make a normal online payment with your credit card.
Once the banking process has been done, you’ll have your recently bought Ouro (OGS) in your Binance e-wallet (referred to as the «Spot Wallet»)

Once you finished configuring the new payment method to your account, move to the "Buy Crypto" menu (upper part of the screen), find the "Trading P2P" option, and follow the directions below:
Cryptocurrencies will be released by the seller as soon as money reception acknowledge has been done.
You may see your wallet Binance balance to confirm reception.
However, in order for you to buy another Ouro (OGS), you must move them to your Spot Wallet.
That’s quite simple: just press "Transfer to Spot Wallet" immediately after the purchase order is completed.
This Ouro (OGS) internal movement can be performed whenever you need.
The seller, upon confirming money reception, will instantly release the Ouro (OGS).
This way, they will quickly be deposited into your wallet.
But in order for you to buy any other Ouro (OGS), you must move them to your Spot Wallet.
To get this done, all you have to do is press "Transfer to Spot Wallet" immediately after the buying order is completed.
If you forget to follow this step right after buying the cryptos, no problem at all: you’ll always be able to do it at any moment.

With these money already in your Spot Wallet, don’t fear to trade any cryptocurrency you believe will be worthwhile.

Find out how simple is to purchase any cryptocurrency from the Binance platform:
Perfect! Now you have money available to trade any of the huge selection of Ouro (OGS) in the Binance platform.
Find out how simple is to purchase any crypto from Binance:
This post have surely pictured you a wide vision of what Binance is and how you can do business with Ouro (OGS) on it.
The future of money trading relies on Ouro (OGS)., and Binance is a safe and comfortable platform to do business. Begin today!
If you are planning to make money by purchasing cryptocurrencies, you would have to understand how to utilize the Kucoin platform. This form ofexchange is getting strong benefits to all its users, and it is showing a lot more progress in all its tradings.
If you need to learn without difficulty how to purchase a Ouro (OGS) in Kucoin, you must read this article.


Once you’ve created your account into the Kucoin platform and met the safety requirements, you need to deposit your money. This method is rather simple, the best part is that you have several alternatives to do so.
One of them is usually to navigate to the «Assets» or «Balance» section at the top right on the screen and choose the "Deposit" link. After that, select the Ouro (OGS) you wish to transfer into your personal account to buy new cryptos, for instance, USDT.
Next, you will need to pick the network you will use to get the operation done. We strongly recommend Tron (TRC20) because it has the lowest commissions.
Below you’ll find the address you have to write in the «Exchange» where you currently have the USDT you wish to send to Kucoin. Once you do this, you’ll instantly obtain the funds within your main account.
If that is not working in the country you’re living, you could try transferring funds to your account through P2P trading. This kind of transaction signifies that you actually make a bank transfer to one of the documented traders to obtain any of the genuine cryptos.
When you obtained the funds in your account, it’s time to learn how to interact with the Kucoin platform.
Purchasing a Ouro (OGS) on Kucoin you need to transfer the money you have just purchased to the trading accounts. To achieve this you must go to the «Balance» menu, click the main account, enter your cryptocurrencies and choose «Transfer». This last option can be found on the same line as the currency you’ll use to complete the purchase.
If this doesn’t work in your country, you could attempt moving the money to your account through P2P trading. This kind of deal signifies that you make a standard bank transfer to one of the listed traders to get any of the approved cryptos.
Now that you get the money in your account, it’s time for you to learn how to navigate through the Kucoin platform.
Purchasing a Ouro (OGS) on Kucoin you have to move the money you have just purchased to the trading accounts. To get this done you have to go to the "Balance" menu, click on the main account, enter your cryptocurrencies after which choose «Transfer». This last option can be located on the same line as the currency you are about to use to complete the purchase.


Next, you are redirected to a window to select where you are going to send the funds. You should transfer from the «Main Account» to the "Trading Account", and indicate the currency and the quantity you want to send to trade. Then click on "Confirm".

Now that you got the cash already credited in the account, you can buy your crypto and start trading.
Now we will discuss how to purchase Ouro (OGS) in diverse ways. To begin, you need to open the «Trade» menu and click on "Spot trading" (Spot Market). After that write the acronym Ouro (OGS) in the search line in the top corner of the page.
The platform will show you the crypto pairs you are allowed to operate with.

In short, you‘ll only be capable of purchase Ouro (OGS) just with the crypto pairs displayed there.
For this case, you can do it with «USDT», «USDC», «KCS», and «BTC».
We choose ADA/USDT as we’ve got funds in this couple. When we do so, it immediately loads the crypto information and the order book containing the buy and sell tradings.
For being able to accomplish the transaction, you will have to enter the trading key.

At the bottom-right, the financial markets to trade crypto can be seen, enabling immediately «Spot». There you’ll find 3 ways to buy Ouro (OGS). The options are as follows:

You can also establish the order activation and process it at the greatest market price. You do this by choosing "Stop Market", and entering in "Stop Price" the value you prefer the Ouro (OGS) to achieve to trigger the order and the amount of USDT to invest. By clicking on Buy Ouro (OGS), your purchase will be processed at the market rate once it is the same as the stop price you have set.

With just one of these three options, you’ve already got the Ouro (OGS) tokens you’ve just purchased available in your trading account. From now on you may make transactions with this or you may want to purchase any other cryptos. Bear in mind that with Ouro (OGS) you’ll only be authorized to get the cryptos available in their pairs. Generally you will need to trade your Ouro (OGS) for a crypto that is typically available in the Ouro (OGS) pairs, such as BTC, USDT, and BNB, and you could buy the particular one that you actually want.
Now you can start buying a Ouro (OGS) using the Kucoin site.
| Exchange | Market Pairs | Buy |
|---|
